Learning how to fix wall corners is a great way to improve the appearance and value of your home. The corners of your walls can get damaged for various reasons, including wear and tear, problems with the drywall, and water damage. Walls in older homes are especially susceptible to damage over the years, which can cause cracking and other imperfections. It’s important to inspect large cracks to ensure they have no impact on the structural integrity of your home.
For small cracks and cosmetic damage on your wall corners, use the following five techniques for learning how to fix wall corners.
Technique #1: Use Putty
One of the most common methods people use when learning how to fix wall corners is using putty. Putty is a cementing material with the consistency of dough that you can use to fill crevices and fix cracks in drywall.
When using putty to fix your wall, measure and mark the repair area to avoid damaging the wall section that doesn’t need fixing, then add a layer of putty to the damaged areas. At this point, you don’t need to worry about the placement being perfect since the putty will shrink once dry.
To create a professional finish, sand the marked area with 80-grit sandpaper and use a slightly damp paper towel to wipe away the sanding dust. Putty is resistant to moisture which helps your repair avoid flaking over time. You can also pair it with metal corner guards for additional protection.
Technique #2: Use a Hacksaw to Remove the Corner Bread
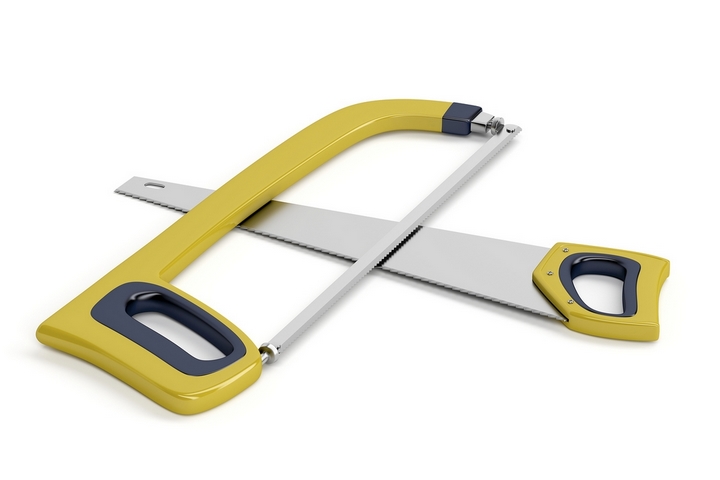
If the corners of your walls are cracking, you may have a damaged drywall corner bead. The corner bead is a strip of metal designed to keep two pieces of drywall separate from each other when they meet in a corner.
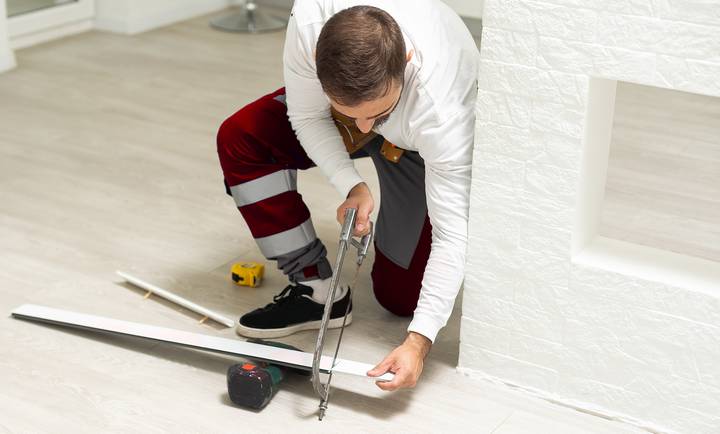
Simple things such as children banging into the wall, moving furniture or hitting the wall with a vacuum cleaner can cause the corner beads to become loose over time. You can use a hacksaw to remove the damaged corner bead by cutting a few inches above and below the damaged section. A small pry bar or straight-blade screwdriver will help you pull the corner bead from the wall without damaging the surrounding area.
You can then attach a new corner bead, securing it with two or three coats of a sealing compound. For the best visual results, sand down the wall between the sealing compound’s layers. Finally, you can start to prime and paint the damaged area to match the rest of the wall.
Technique #3: Repair Water Damage
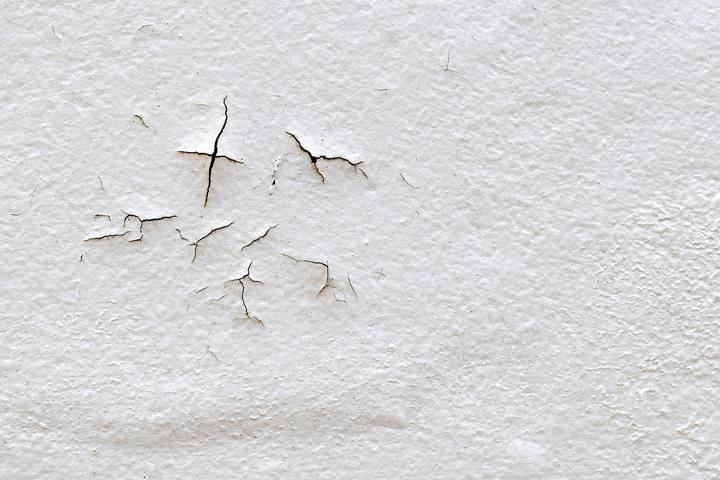
Water is a sneaky cause that can damage the corner of your walls. Usually, water damage will stain your ceiling, but in extreme cases, the drywall can start to sag from the joists. Water will bleed through insulation and primer and quickly damage your walls if you don’t spot the damage early.
After fixing the cause of the water leak, you can use a new coat of primer designed to block water stains. If the water has softened the walls in your home, you’ll need to contact a professional for extensive repair. Look for discoloration, bubbling, and soft drywall as serious signs of water damage.
Technique #4: Check the Inside-Corner Tape
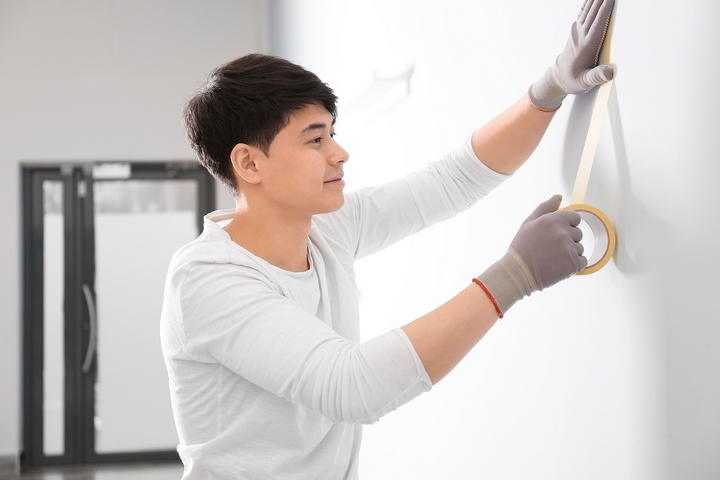
If you notice cracks and vertical lines on your walls, the inside-corner tape is likely starting to fail. Inside-corner tape is used to connect drywall sheets and is hidden under several layers of a sealing compound. This type of wall damage is most common in bathrooms, where your walls are exposed to moist and hot air, which can weaken the inside-corner tape.
Purchasing an inside-corner knife is a great way to repair the tape significantly easier. It may be tempting to simply glue down the loose tape, but you’ll get the best results by cutting out the old tape and replacing it with a new piece. An inside-corner knife will make it easier to smooth both sides of the tape after putting it on the wall.
Technique #5: Use Wall Texture Spray
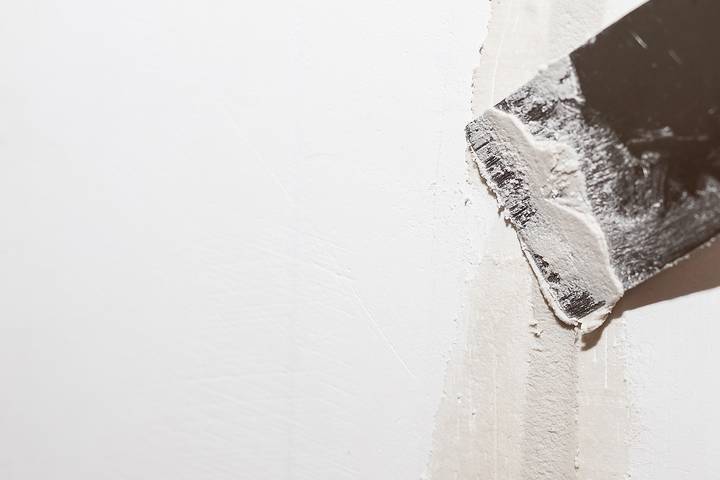
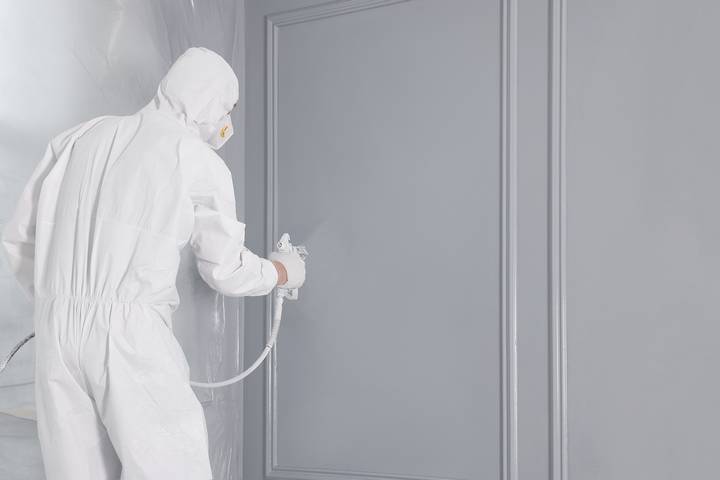
Learning how to use texture spray is a great way to learn how to fix wall corners. With texture spray designed for walls, you can quickly repair imperfections and damage on your wall corners without having to cut into your wall or use tools. Texture spray is best used in small areas to provide the best visual results. Remember to follow the instructions on the can and use the proper spraying technique.
It’s worth using some of the sprays on a piece of cardboard to perfect your technique, especially if you want to repair a small section of your wall. Most aerosol cans come with an adjustable nozzle that allows you to modify the volume and pressure of the spray and find settings that work best for you.


